First off, let’s clear up a common misconception: finding out what motherboard you have isn’t rocket science. Many people think you need to be a tech guru to figure it out, but that’s not true. You can easily check your motherboard model with just a few simple steps.
Knowing your motherboard model is super important. Whether you’re looking to upgrade your hardware, troubleshoot a pesky issue, or just want to geek out on your system specs, having this info is crucial. And guess what? I’m here to walk you through it all in the simplest way possible.
In this guide, I’ll show you how to uncover what motherboard you have using a few straightforward methods. By the end, you’ll be a pro at identifying your motherboard and understanding your PC a bit better.
Why You Need to Know Your Motherboard Model
So, why bother finding out your motherboard model? Here are a few solid reasons:
- Upgrading Components: If you’re planning to upgrade your RAM, CPU, or other parts, you need to know your motherboard’s specifications to ensure compatibility. No one wants to buy a new piece of hardware only to find out it doesn’t fit.
- Troubleshooting Issues: When your computer is acting up, knowing your motherboard model can help you find solutions more efficiently. It’s easier to look up issues and fixes if you know exactly what hardware you’re dealing with.
- System Optimization: Some upgrades or tweaks might be specific to your motherboard. Knowing its model allows you to look up tips and tricks to optimize your system’s performance.
Alright, now let’s dive into the actual steps to check your motherboard model. Whether you prefer using built-in system tools, checking physically, or using third-party software, we’ve got you covered.
How to Find Out What Motherboard You Have
Using System Information Tool (Windows)
A lot of folks think you need to physically open up your PC to check your motherboard model, but that’s not true at all. You can actually find out a ton of information about your motherboard right from your Windows operating system.
Step-by-Step Guide on Accessing System Information
- Open the Start Menu: Click on the Start button in the bottom-left corner of your screen or press the Windows key on your keyboard.
- Search for System Information: In the search bar, type “System Information” and select the app from the results. This tool is built into Windows and provides a comprehensive overview of your system’s hardware.
- Navigate to System Summary: Once the System Information window is open, make sure you’re in the “System Summary” section. Here, you’ll see details about your computer.
- Locate the Motherboard Information: Look for entries labeled “BaseBoard Manufacturer,” “BaseBoard Product,” and “BaseBoard Version.” These lines will tell you the make and model of your motherboard.
For example, it might say something like:
- BaseBoard Manufacturer: ASUS
- BaseBoard Product: ROG STRIX B450-F GAMING
- BaseBoard Version: Rev 1.xx
Using this method is quick and doesn’t require you to open your PC. Plus, it’s a great way to get accurate information directly from your system.
Tips for Windows 11 Users
The process for Windows 11 users is pretty similar. You can follow the same steps to access the System Information tool. Just make sure you’re using the updated search bar in Windows 11, which is more streamlined and efficient.
By using this tool, you can easily find the motherboard model number for Windows 10 and Windows 11, making it a handy option for most users.
Checking the Motherboard Physically
Some people believe that checking the motherboard physically is a daunting task, but it’s actually simpler than you might think. Here’s how you can do it without breaking a sweat.
Guide on How to Open Your PC Case Safely
- Turn Off and Unplug Your PC: Safety first! Make sure your computer is turned off and unplugged from any power source.
- Open the Case: Depending on your PC case, you might need a screwdriver to remove the side panel. Some cases have thumb screws, which can be unscrewed by hand.
- Ground Yourself: Before touching any internal components, ground yourself to avoid static discharge. You can do this by touching a metal part of the case or using an anti-static wristband.
Locating the Motherboard Model Number
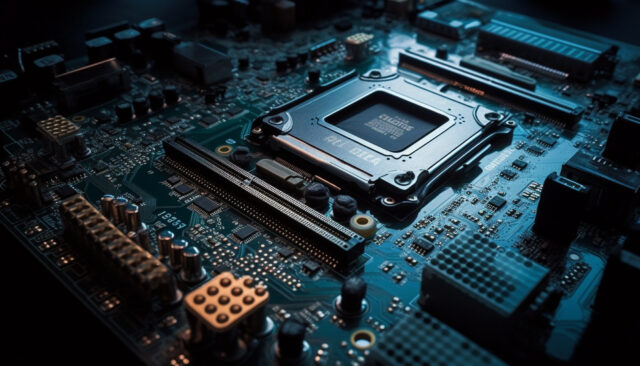
Once you’ve safely opened your PC case, look for the motherboard model number. It’s usually printed directly on the motherboard itself. Here’s what to look for:
- Model Number: This could be something like “MSI B450 TOMAHAWK” or “Gigabyte Z390 AORUS.”
- Manufacturer’s Name: Look for names like ASUS, MSI, Gigabyte, etc.
- Additional Labels: Sometimes the model number is accompanied by other information like serial numbers or version numbers.
The pros of physically checking your motherboard include obtaining accurate and direct information and the ability to verify any labels or stickers that might be present. This method is independent of software limitations and provides certainty. On the downside, it involves more effort and carries a slight risk of damaging your components if not done carefully. Additionally, not everyone is comfortable with opening their PC case.
In conclusion, checking your motherboard physically is a highly reliable method, especially for older systems or when software tools fall short. While it requires a bit more effort and caution, the accuracy and directness of the information obtained make it a valuable method for those who are comfortable with the process.


